


DIY: Build your own training/travel plank.
So, my formal living room has been taken over by dog gear, wobble boards, training planks, cones, and of course, toys. If it has to do with the Shelties, chances are it's in my living room. (How many of you can empathize?)
As a newbie agility enthusiast, I've learned that most of our training occurs at home. Practice makes perfect, right? Or, as I quoted in a previous blog: "Perfect practice makes perfect."
My puppy Gus is currently in a "Foundations for Agility" class, and it is in this class that we learn the skills which eventually evolve into full-fledged agility. Being seven months old, it's important that Gus learn body awareness (especially rear end awareness), and that he learn the foundations for doing contact obstacles like the A-Frame, Teeter, and Dog Walk (two feet on/two feet off). It's also important that Henry continues to practice these skills as well.

Gus demonstrating 2 on/2off
The AKC Regulations for the dog walk and teeter require each to be a maximum of 12 inches wide (the teeter has a 1 inch tolerance and the dog walk must be within +/- an inch). The traveling plank we'd previously borrowed from My K9 Buddy was 10 inches wide, as it was suggested that this piece of equipment was great for practicing contact obstacles at home. It's not easy to "forget" to return a traveling plank, especially when Gus is in a class that requires their use. So, we decided we'd build or buy our own.
I looked around online and discovered that several sites sell travel planks, in the ballpark of $60 plus shipping. Noting the construction of them, and being a DIY enthusiast (we've tiled our floors, refinished hardwoods, built a patio and found a strange sense of enjoyment from the completed projects -- we'll forget all the profanities exchanged during those as well), I figured I could build my own for a fraction of the cost. I drew a diagram based upon the specifications of the commercial traveling planks I found on websites, and I modeled mine after the borrowed one from our training center. The traveling plank was, simply, plywood supported by 3 2x4 supports.

Plywood Plank Surface - 4 feet x 10 inches wide
Two by Four (3) cut in 10 inch sections
Measurements in hand, we went to Home Depot, and bought the following:
- Sanded 1/2 inch Plywood - 1/2 inch x 2 feet (width) x 4 feet length @ $9.95
- 2 in. x 4 in. x 96 in. Kiln Dried Whitewood Stud @ $2.64
- Wood Screws (8 x 2 inch) @ $8.47 box
- Rust Oleum Textured Spray Paint 2 cans @ $5.76 each
- Rust Oleum Spray Paint (whichever color) @ 3.76 x 2
Total: $40.10
You might be thinking to yourself -- is saving $20 really all that much when I can just order the same thing online? Well, for this cost, we were able to build TWO traveling planks - NOT one.
Home Depot will make board cuts for you, and in our case, Home Depot cut the plywood to 2 10 inch wide sections. The 2x4 needed cutting at home, which was easy to do with a circular saw.
After the boards were cut to size, we used textured paint so as to avoid a slippery surface for the dogs. The training planks at My K9 Buddy were painted with gloss paint and, thus, did not have a texture. Besides, the dog walk and teeter are textured obstacles, so I wanted to get Henry and Gus used to standing on strange surfaces.

After application of textured spray paint.
Once the textured paint was dry, we then painted the boards to the color of our choosing. We also painted the 2x4 sections with a contrasting color.

Painted 2x4
After all boards were dry, we began our assembly. Three 2x4 pieces were used on each plank; one in the center of each board, and one at each end, spaced 2 inches from the edge. Each 2x4 required 3 wood screws to hold it in place. I measured and marked the locations for the wood screws width-wide at the 1 inch, 5 inch, and 9 inch mark.
Drill pilot holes into the 2x4s deep enough so that the screw will catch; then use a screwdriver to place the wood screws. The finished product should look something like this:

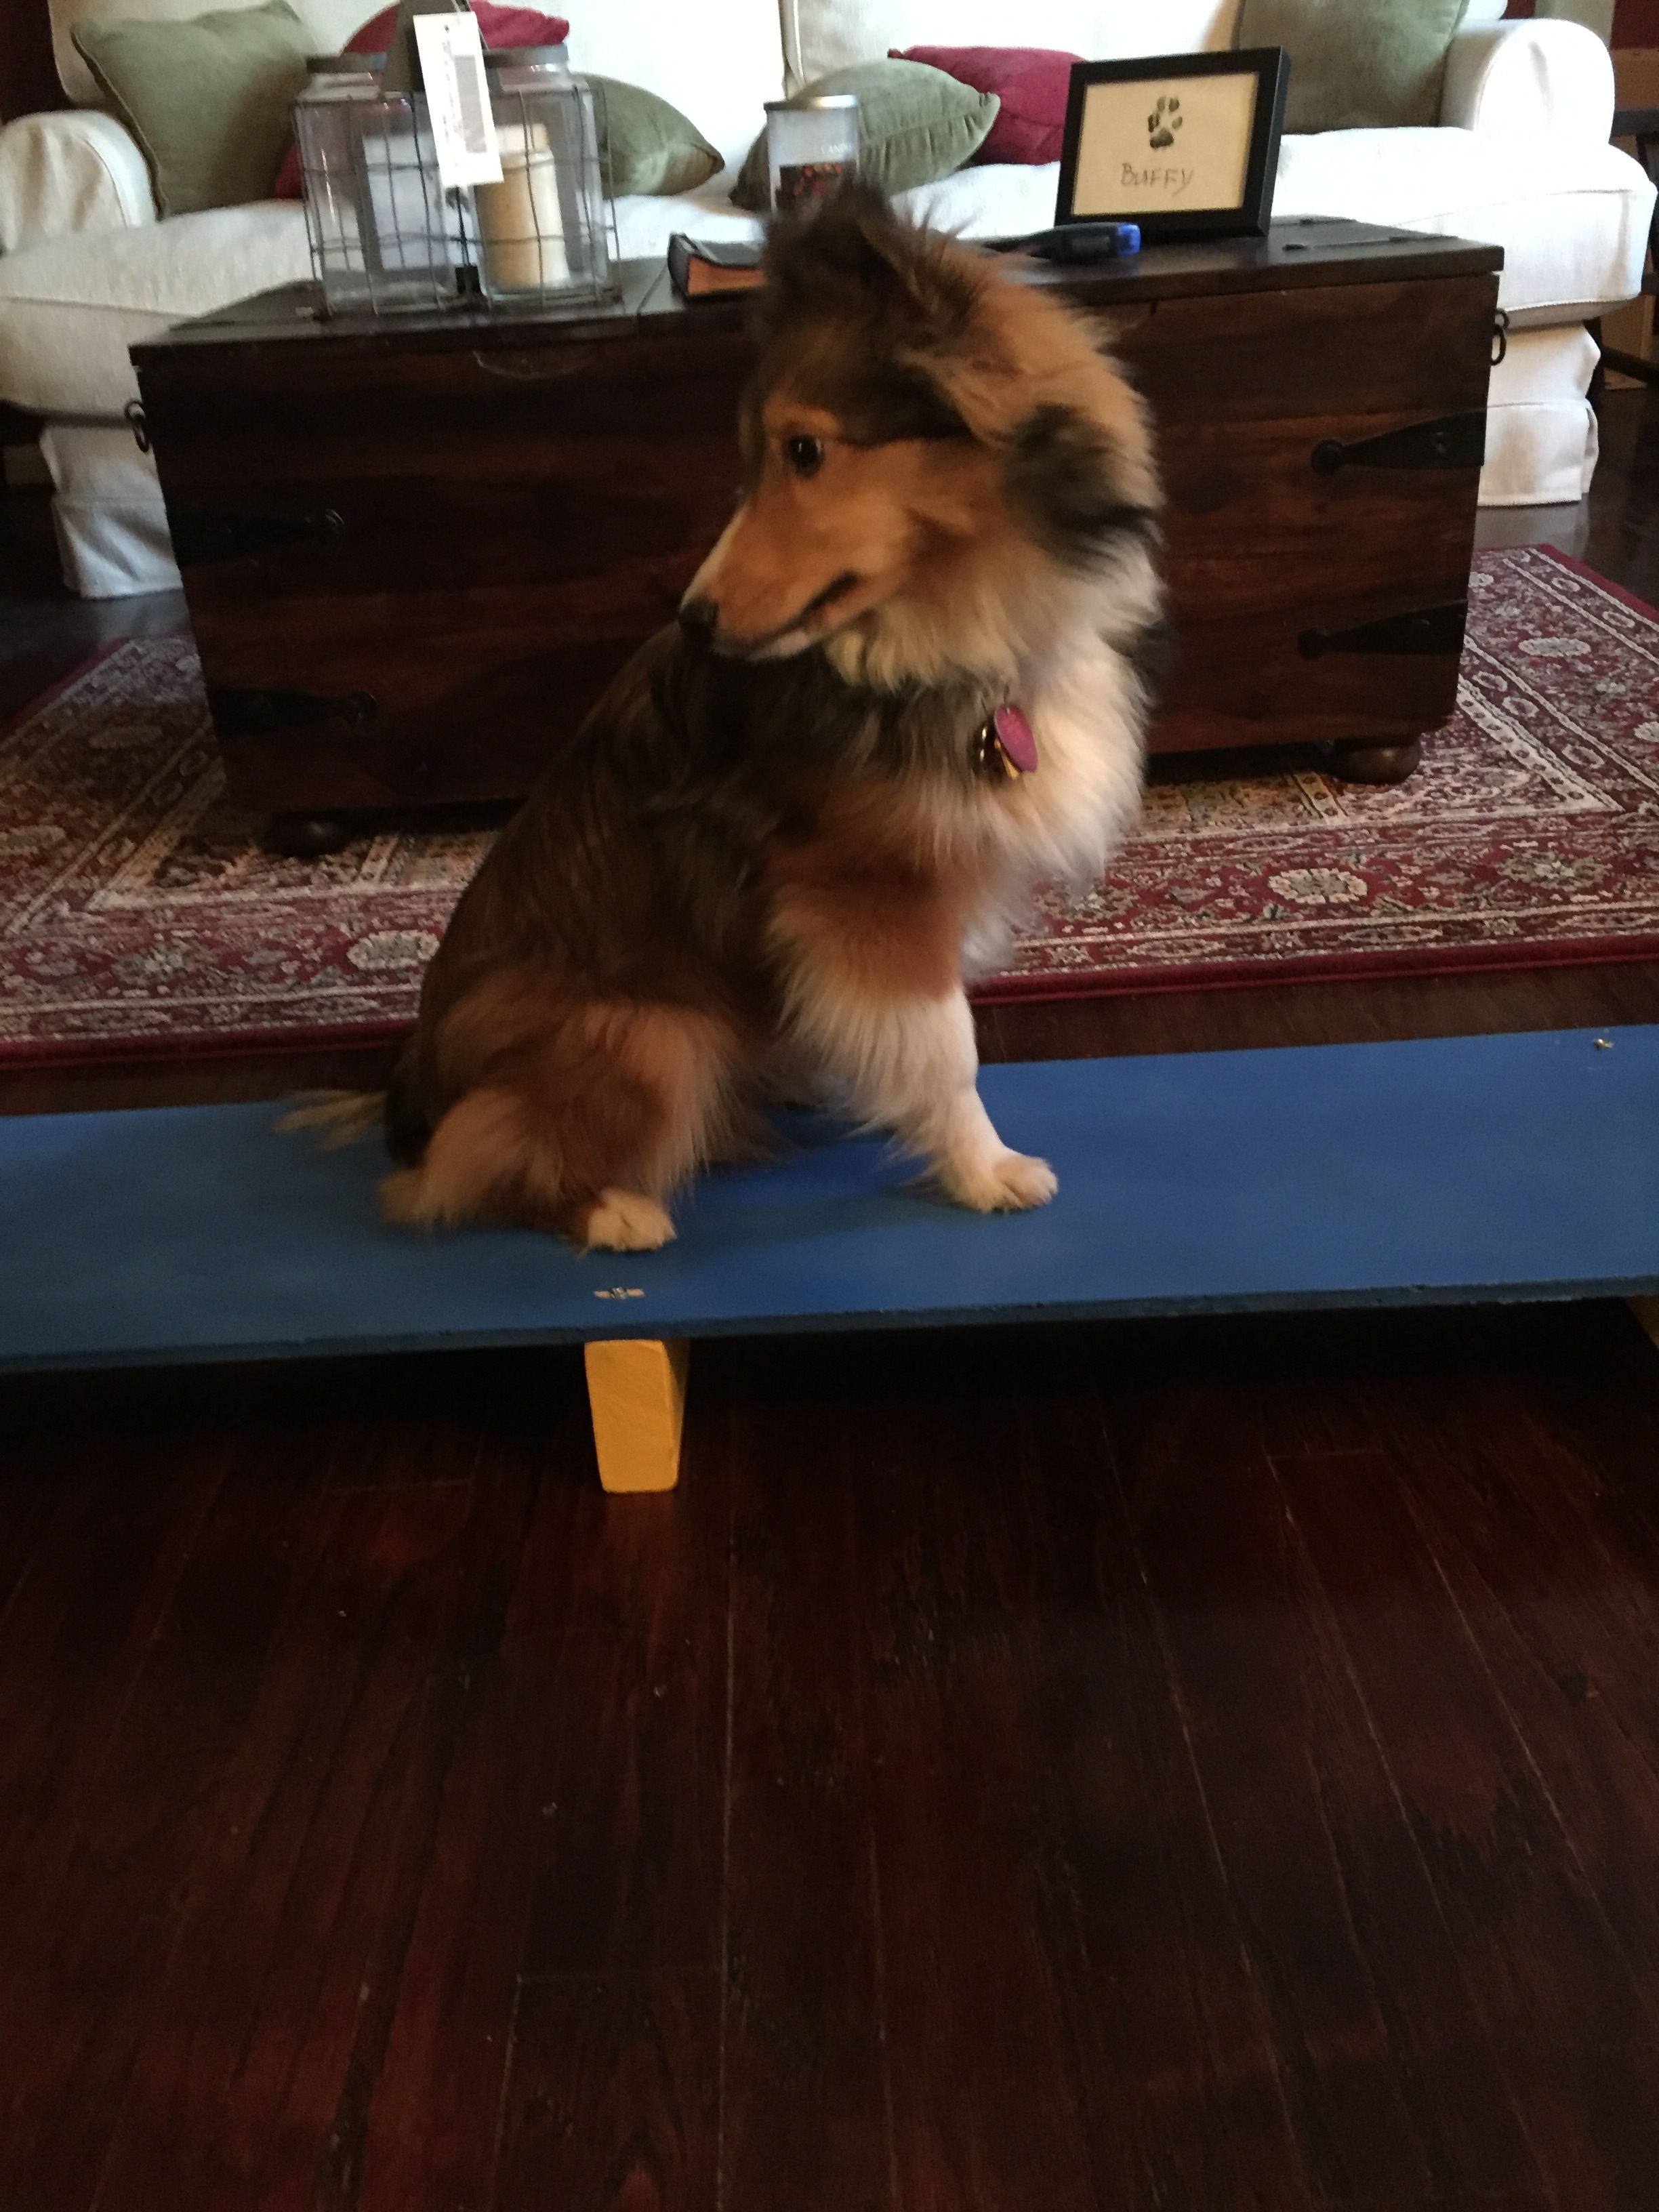
Gus models the plank.

Under side of plank.
And there you have it! Building a plank was a relatively easy project and for less than the cost of a similar one online, I ended up getting two of them.
Happy building!


